Anticipation. Is keepin’ me waitin’. It’s kind of how we (and I’m sure pretty much everyone else who’s sheltering in place) feels. Once again we have another “end of quarantine” in sight, this Sunday, but we all pretty much expect another two week extension, as has already happened three times. The city government has proposed a measured lifting of quarantine extremes, as the rest of the country has started to do already. Whether it goes into effect this Sunday night or two weeks further on, remains to be seen. But if it does, it would likely allow many businesses to start reopening, with some physical distancing measures in place, mandatory masks, and what else, remains to be seen.
They seem to be ramping up to the idea of doing some sort of wholesale anti-body testing, which is of limited value. The anti-body tests are not wholly accurate – only about 93% accuracy – though there’s a new test that’s just been announced that claims a 99.8% accuracy – it’s just not really in production yet. But, we still have no idea if having anti-bodies grants immunity to infection, and if it does, for how long it does so. In the cases of the four other human coronaviruses that we’ve had to deal with in the past, anti-body immunity is, if I understand correctly, only effective for a period ranging from months to a few years. An announcement yesterday from Israel of a way to introduce anti-bodies sounds promising. But, we just don’t know. At the same time, there might be some personal mental comfort in knowing if you’ve been exposed or not already. There’s a very good podcast interview here that explains more about the whole anti-body testing and immunity issues.
That all aside, it’s time for my promised rice tutorial. Now, I was actually perusing things here and realized that I’d put a step-by-step guide to making Peruvian rice up on the blog a few years ago. But, it was simply wrong. It was the right general process, but not accurate as to amounts. I was (as I always am) still learning to do it right. I think I’ve finally gotten there as I’ve learned to be a lot more patient with rice cooking.
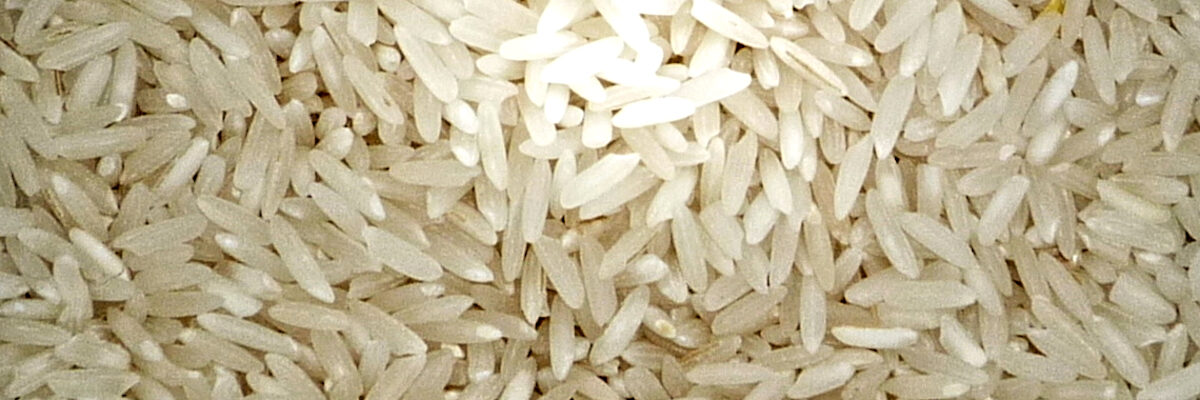
So, what do we need? 500gm long grain rice (2¼ cups); an equal volume of hot water (out of the tap hot, it doesn’t have to be boiled or anything) – not equal weight, equal volume, and yes, it’s a lot less than the way we grew up making rice in the U.S., where I always learned to make rice with somewhere between 1¼-1½ times water to rice. 1 tablespoon of coarse salt, 2 chopped garlic cloves, 3 tablespoons of vegetable or olive oil.
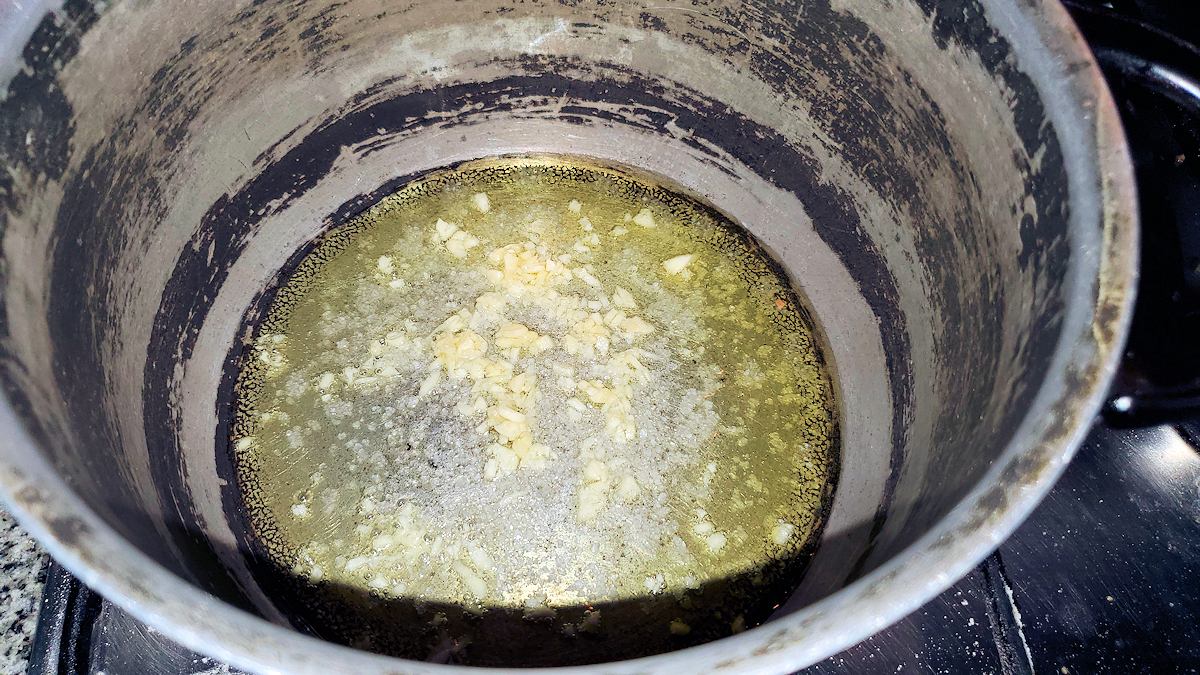
In a good sized pot, put the oil, salt, and garlic, and over the lowest heat setting, begin to cook. Give it a stir now and then, you want to cook until the garlic just starts to color. This will take a good five minutes or more over low heat.
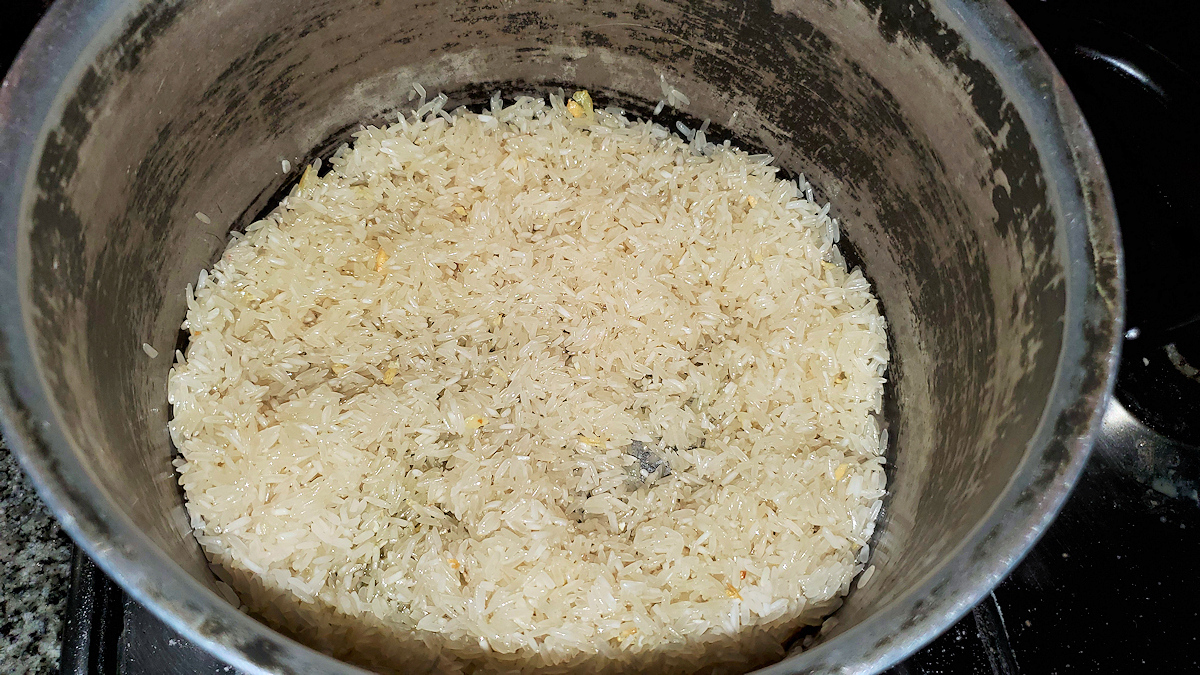
Add the rice, give it a stir to coat the rice lightly with the oil and mix in the garlic and salt. Continue to “toast” over low heat for about another five minutes, giving it a stir every minute or so.
Add your hot water. Stir it up, and put a lid on the pot. Walk away for 15 minutes.
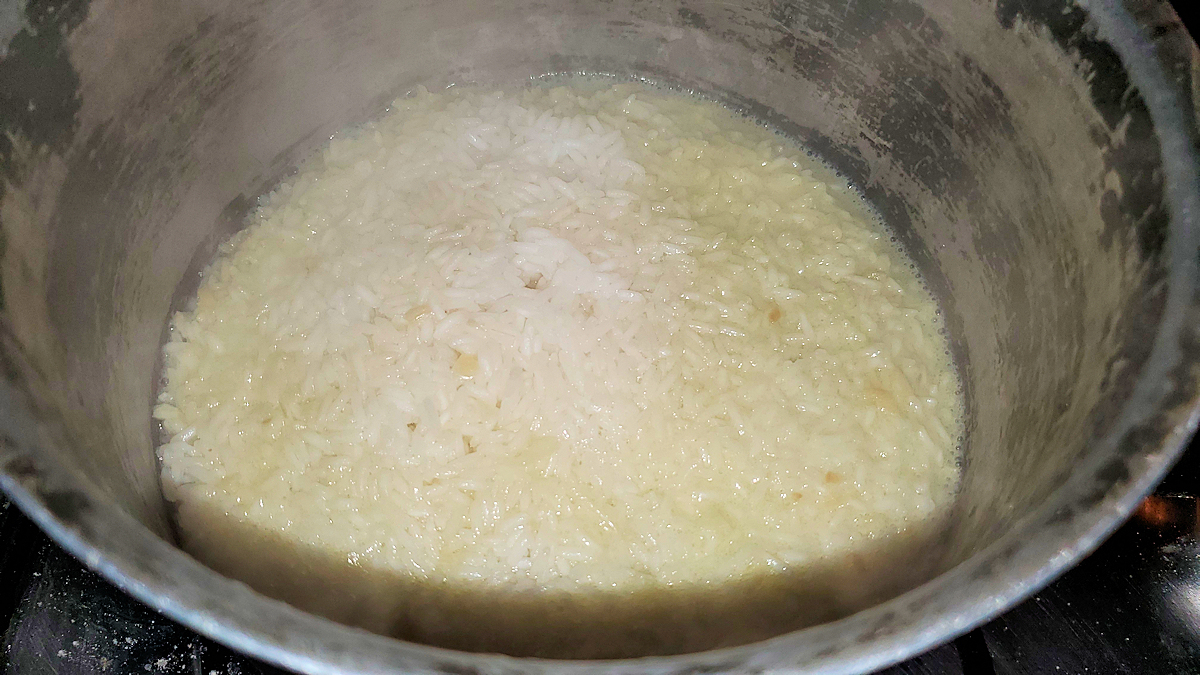
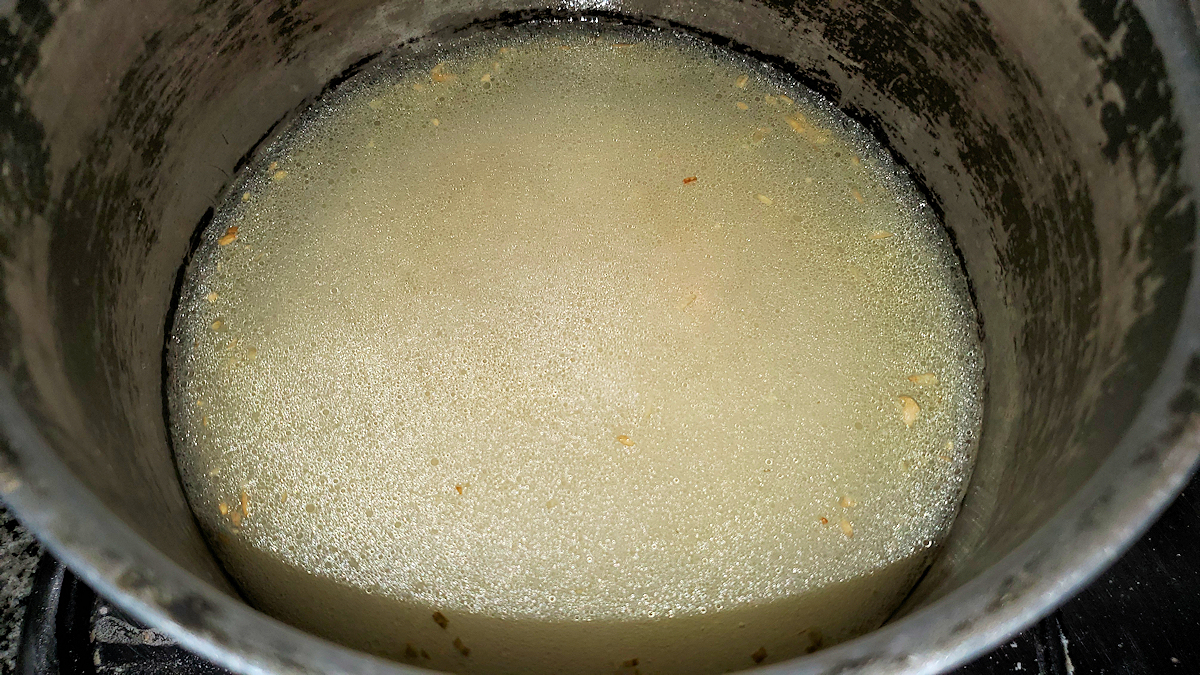
The rice will look more or less like this – the water for the most part absorbed, but still a good amount of steam coming off of it, and it tends to mound up in the center. Do not stir. Repeat. Do not stir. If there’s still visible water, re-cover the pot and let it go another five minutes and check it again.
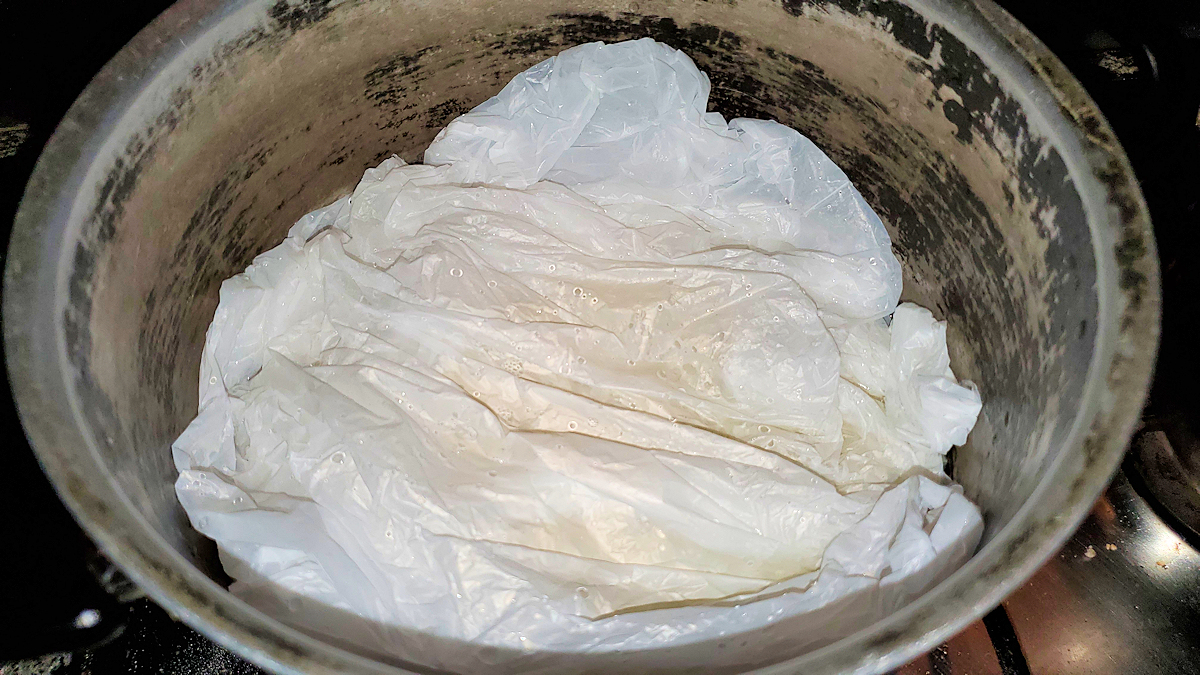
Get a small, plain white or clear plastic bag (we, and many people, have found that colored bags sometimes leach their color into the rice). Run it under cold water until it’s dripping wet. Then place it over the rice and tuck it in around the edges. Re-cover the pan, and walk away for another 15 minutes. The heat is still on low underneath.
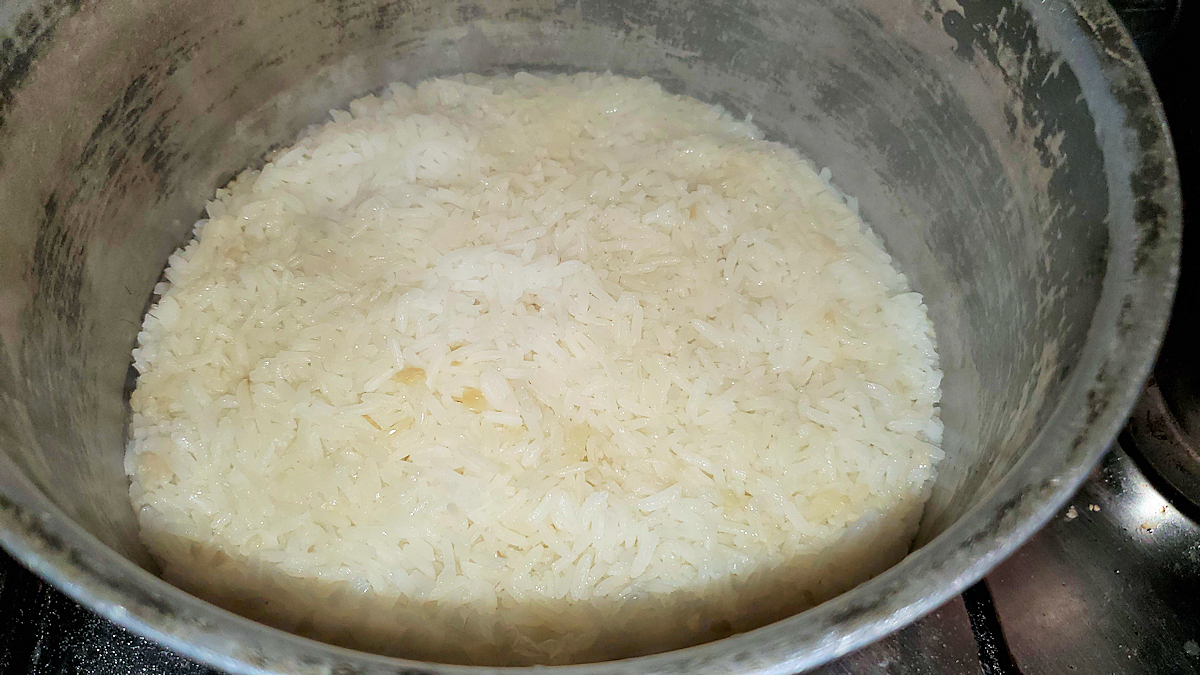
Lift up an edge of the bag and with a spoon or fork, grab yourself a little rice and taste it. It should be cooked through, but still have a little bit of chew to it. It’s not as soft as the white rice we tend to be used to – remember, it’s using a lot less water. If it’s not quite there yet, re-tuck the bag and give it another five minutes.
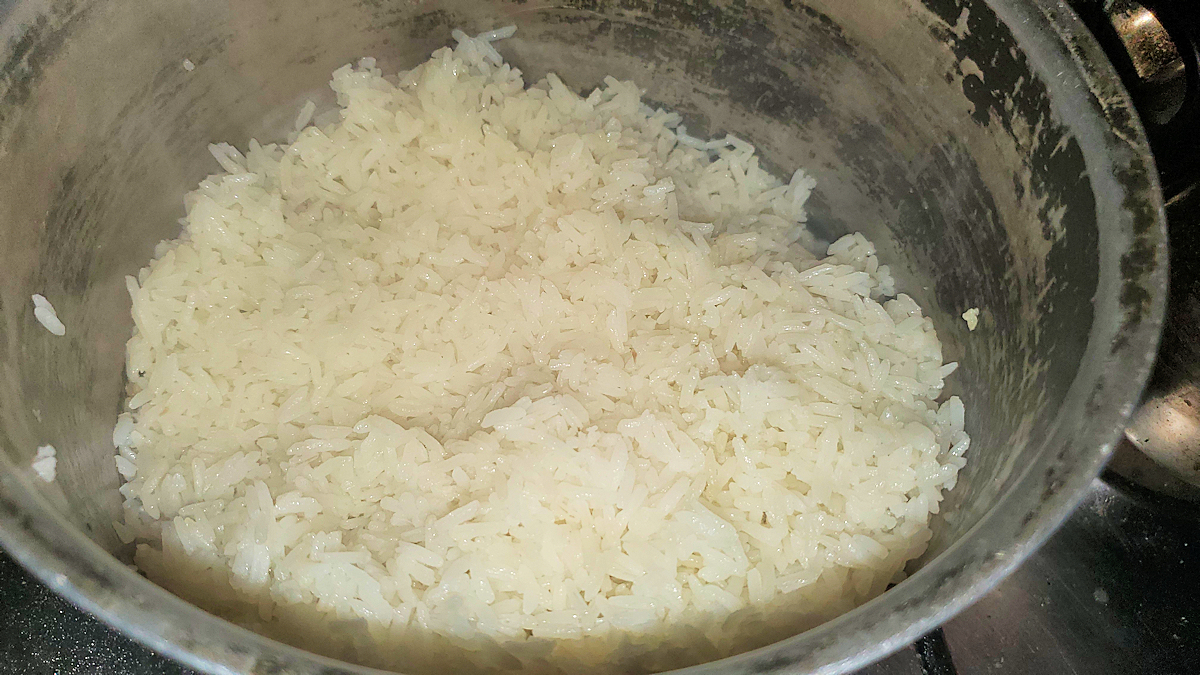
When it’s ready, use a fork and fluff it all up. There will likely be a bit of a crust on the bottom – what in Latin American spanish is called the concolón (a.k.a. cocolón, cucuya, pega, in Spain, socarrat), other cultures have a similar thing. That’s fine. In fact, after we use the rice in the pot, we tend to munch on the crunchy bit on the bottom as a little “chef’s treat”. When we store the rice if we don’t finish it off, it’s either in an airtight tupperware type container or if in the pot, we tuck the plastic bag back in around it, to prevent it from drying out.
And that’s it. It’s pretty simple. But it does require patience over the usual 15 or so minutes of boiling rice over medium to high heat in lots of water – taking more like 45 minutes. And, it’s seasoned, with oil, salt, and garlic. But, it’s, as I said in the last post, “Peruvian rice”, at least the way they make it around where Henry grew up. Give it a try!
[…] always still learning, and over time I’ve had corrections put in, and refined this process. Go here for the right way to do this, posted three years on.] I don’t think I’ve ever done a step-by-step of Peruvian rice. […]
Thanks for the tutorial. I’m Ecuadorian and grew up eating this kind of rice but didn’t know how to make it. Thank you! Only question I have is about the plastic bag. I don’t want to steam plastic, which is a poisonous endocrine disruptor, into my food and am wondering if anyone knows what would have been used traditionally, in the eras before plastics, for this step?
Anything that creates a more or less impenetrable barrier is fine. Traditionally it was probably large, wet leaves, or something like wet corn husks. I’ve seen people use parchment paper or just a pot lid that’s smaller than the pot and fits in snugly directly atop the rice. I understand your objection on the plastic, but it likely doesn’t get hot enough to melt or vaporize anything. I think most people these days use it because they have so many “leftover” plastic bags around the house.